
About the old wiki address
This address was used for an instruction to install the latest development (“trunk”) source of PhoneGap for iOS. A development checkout was a moving target, so the word “latest” did not identify a reproducible release.
The original wiki text was not recovered. To keep the topic useful without inventing its contents, this page supplies the official 1.4.0 iOS getting-started guide, recovered from the Cordova documentation repository. It is a versioned historical alternative, not a verbatim restoration of the missing wiki article.
Working from historical source
For research or maintenance, choose a tag or commit and record it together with the Xcode, SDK and plugin versions. Do not mix a JavaScript library from one release with a native framework from another. Keep changes in a copy of the project so that the original remains reproducible.
Getting Started with iOS
Video Tutorials:
- Requirements
- Intel-based computer with Mac OS X Snow Leopard (10.6)
- Necessary for Installing on Device:
- An Apple iOS device (iPhone, iPad, iPod Touch)
- iOS developer certification
- Install SDK + PhoneGap
- Download and install Xcode from Apple Developer Portal (Membership required)
- Donwload the latest copy of PhoneGap and extract its contents. We will be working with the Android directory.
- Setup New Project
Launch Xcode, then under the File menu select New and then New Project...
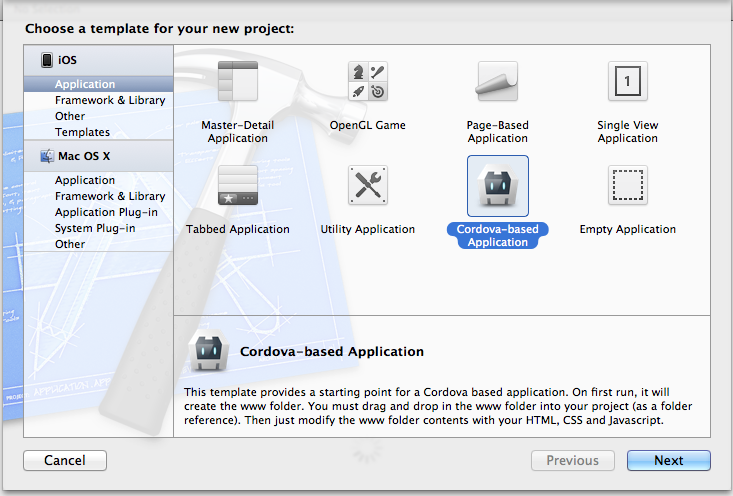
Select PhoneGap-based Application from the list of templates
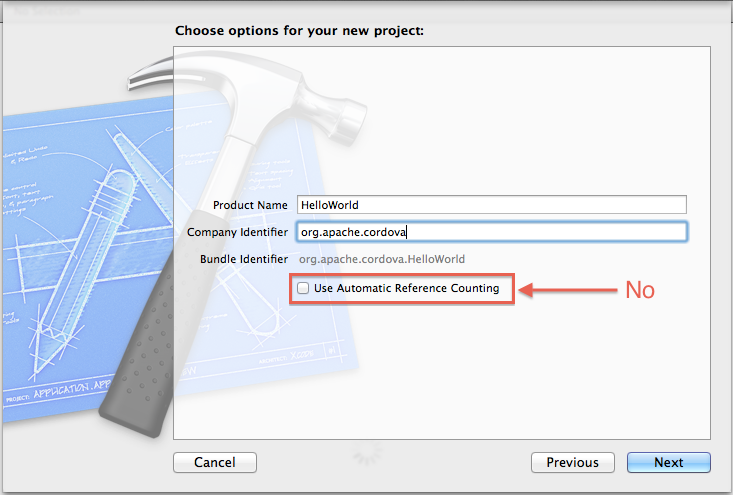
Select the Next button, Fill in the "Product Name" & "Company Identifier" for your app
Choose a directory to store your app
You should see your project in Xcode 4 now. Press the Run button in the top left corner. Your build should succeed and launch in the simulator
You should see a error in your simulator informing you index.html was not found
To fix this, we need to copy the www directory into the project. Right click on the project in the left navigation window and click show in finder
In Finder, you should see the www directory beside your project
Next step is IMPORTANT! Drag the www folder into Xcode 4. You can't just drag the www folder into your app's folder. It needs to be dragged into Xcode 4!! In my case I would drag it and drop it on HiWorld shown below.
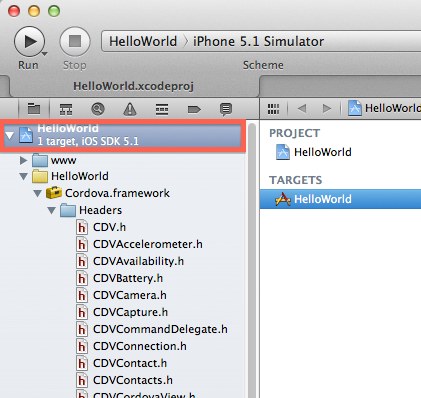
After you drag, you should see a prompt with a few options. Make sure to select Create folder references for any added folders. Click Finish
- Hello World
Open the folder named www and type <h1>Hello World</h1> after the <body> tag in index.html. You can also add any associated Javascript and CSS files there as well.
5A. Deploy to Simulator
- Make sure to change the Active SDK in the top left menu to Simulator+version#.
- Hit Run in your project window header.
5B. Deploy to Device
Open [AppName]-Info.plist and change BundleIdentifier to the identifier provided by Apple. If you have a developer license, you can access and run the Assistant at here and register your App.
Make sure to change the Active SDK in the top left menu to Device+version#.
Hit Run in your project window header.
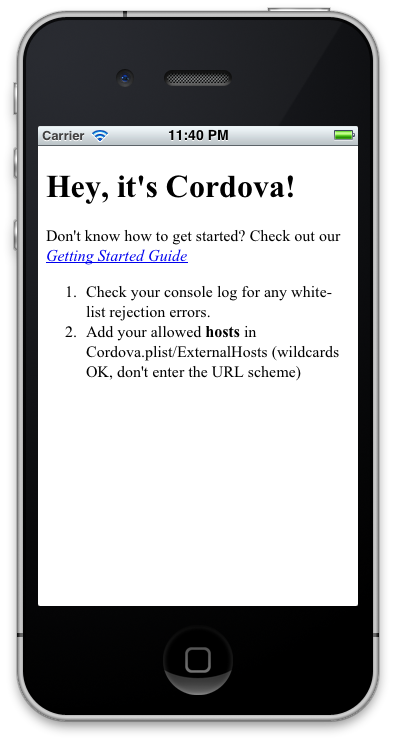
Done!
You can also checkout more detailed version of this guide here.
For present-day development
Use the current Cordova iOS platform guide. It describes the supported toolchain for its current release. The historical guide above should not be used as a current Xcode installation checklist.
Sources & archive notes
Recovered repository material is attributed to its original authors and distributed with its source license. Changes: FreeSoft layout, archive context, navigation, link and image locations. Apache License 2.0 · Notices and provenance. Editorial material is labeled separately.